
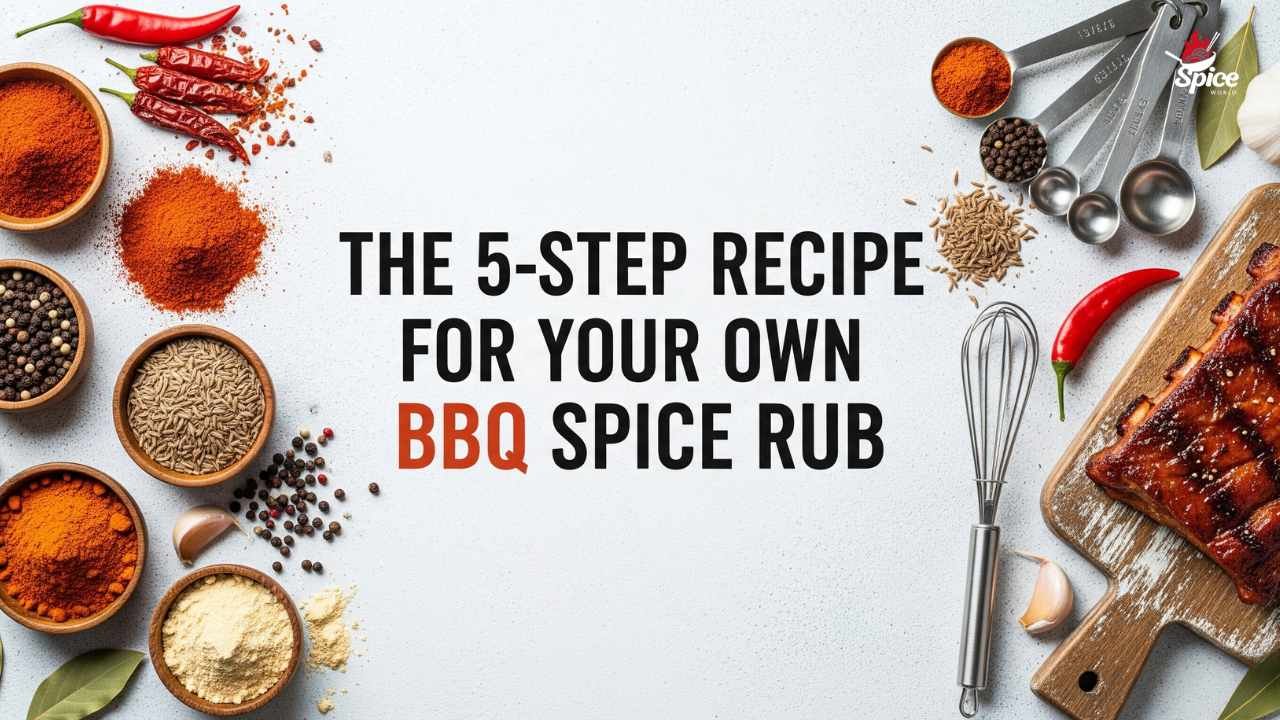
The 5-Step Recipe for Your Own BBQ Spice Rub
Welcome to Spice World Online Farhan Blog.
Have you ever wondered why some backyard pitmasters consistently produce mouth-watering BBQ that keeps neighbors coming back for more? The secret isn’t always in the expensive equipment or fancy wood chips. More often than not, it’s the perfectly balanced spice rub that transforms ordinary cuts of meat into extraordinary culinary experiences.
Creating your own BBQ spice rub isn’t just about throwing together random spices from your pantry. It’s an art form that combines science, tradition, and personal taste preferences. After spending over a decade perfecting spice blends and working with countless barbecue enthusiasts, I’ve discovered that the most successful homemade rubs follow a systematic approach that anyone can master.
The beauty of crafting your own spice rub lies in complete control over flavor profiles, ingredient quality, and customization possibilities. Unlike store-bought alternatives that often contain excessive sodium or artificial preservatives, homemade rubs allow you to create clean, pure flavors that complement rather than mask your meat’s natural characteristics. This comprehensive guide will walk you through five essential steps that transform basic spices into restaurant-quality BBQ rubs that rival any commercial blend.
Understanding the Foundation of Great BBQ Rubs
The Science Behind Spice Combinations
Creating exceptional BBQ rubs requires understanding how different spices interact with each other and with meat proteins. The most effective rubs achieve balance through five fundamental taste components: sweet, salty, spicy, savory, and aromatic. Each element serves a specific purpose in the overall flavor profile.
Salt acts as the primary penetrating agent, drawing moisture from the meat surface while allowing other flavors to absorb deeper into the protein fibers. Sugar components caramelize during cooking, creating that coveted bark formation while adding complexity. Heat elements like chili powders provide warmth without overwhelming the palate, while aromatic spices contribute depth and character.
Research from the Institute of Food Technologists shows that properly balanced spice rubs can increase moisture retention by up to 15% during the cooking process. This happens because certain spices create a protective barrier that helps seal in natural juices while developing exterior crust formation.
The 5-Step Recipe for Your Own BBQ Spice Rub

Essential Equipment and Preparation
Before diving into the mixing process, gathering proper equipment ensures consistent results every time. You’ll need measuring spoons, a large mixing bowl, an airtight storage container, and optionally, a spice grinder for whole spices. Quality ingredients make the difference between mediocre and exceptional results.
Step 1: Selecting Your Base Ingredients
Building Your Spice Arsenal
The foundation of any great BBQ rub starts with selecting high-quality base ingredients. Your spice cabinet should include kosher salt, brown sugar, paprika, garlic powder, onion powder, black pepper, chili powder, and cumin. These eight ingredients form the backbone of most successful rub recipes.
Kosher salt works better than table salt because of its larger crystals and lack of additives. The coarse texture helps create better adherence to meat surfaces while providing controlled sodium distribution. Brown sugar adds sweetness and aids in bark formation, but turbinado or coconut sugar can provide interesting flavor variations.
Paprika serves multiple purposes beyond color enhancement. Hungarian sweet paprika offers mild, sweet notes, while smoked paprika adds depth and complexity. Spanish paprika provides moderate heat with earthy undertones. Consider keeping multiple paprika varieties for different applications.
Quality Considerations and Sourcing
Fresh spices make an enormous difference in final flavor quality. Ground spices lose potency after six months, while whole spices maintain flavor for up to two years when stored properly. Purchase from reputable suppliers who provide harvest dates or expiration information.
When possible, buy whole spices and grind them yourself. Freshly ground cumin, coriander, and black pepper provide significantly more aromatic compounds than pre-ground versions. A dedicated spice grinder or clean coffee grinder works perfectly for small batches.
Step 2: Establishing Your Flavor Profile
Choosing Your Primary Direction
Before mixing begins, decide on your desired flavor profile. Sweet rubs work excellently with pork ribs and chicken, featuring higher sugar content and mild spices. Savory rubs complement beef brisket and lamb, emphasizing herbs and robust spices. Spicy rubs suit those who enjoy heat, incorporating various chili powders and cayenne pepper.
Consider the cooking method when selecting your profile. Low and slow smoking benefits from complex, layered flavors that develop over time. High-heat grilling works better with simpler profiles that won’t burn during quick cooking. Memphis-style rubs traditionally focus on dry heat, while Kansas City styles emphasize sweetness.
Regional Inspirations and Variations
Different barbecue regions have developed distinct spice preferences over generations. Carolina rubs often feature mustard seed and celery seed for tangy complexity. Texas rubs emphasize coarse black pepper and minimal sugar for beef applications. Memphis rubs balance heat with aromatic herbs like oregano and thyme.
Don’t feel constrained by traditional boundaries. Modern BBQ enthusiasts successfully incorporate international influences like Chinese five-spice, Indian garam masala, or Mexican adobo seasonings. The key is maintaining balance while exploring new flavor territories.
Step 3: Mixing and Balancing Your Rub
The Proper Ratio Formula
Successful rub mixing follows proven ratio guidelines that ensure balanced flavor distribution. Start with a base formula of 40% salt and sugar combined, 30% primary spices (paprika, chili powder), 20% aromatics (garlic, onion powder), and 10% accent spices (herbs, specialty seasonings).
For a standard batch yielding approximately one cup of rub, begin with three tablespoons kosher salt, two tablespoons brown sugar, three tablespoons paprika, two tablespoons chili powder, one tablespoon each of garlic and onion powder, one teaspoon black pepper, and one teaspoon cumin.
Mixing Technique and Consistency
Proper mixing ensures even distribution throughout the blend. Start by combining larger quantities first, then gradually incorporate smaller amounts. Use a whisk or fork to break up any clumps, paying particular attention to brown sugar, which tends to form lumps.
Sift the mixture through a fine-mesh strainer to achieve uniform consistency. This step removes any large pieces and creates a smooth texture that adheres better to meat surfaces. Some pitmasters prefer slightly coarser textures, but beginners achieve better results with finely mixed rubs.
Step 4: Testing and Adjusting Your Blend
Small Batch Testing Methods
Never commit to large quantities without testing your blend first. Prepare a small batch using one-quarter of your intended recipe amounts. Test the mixture on a piece of chicken thigh or pork shoulder, as these proteins provide neutral testing grounds for flavor evaluation.
Apply the rub generously and allow it to rest for at least 30 minutes before cooking. This resting period, known as “blooming,” allows flavors to meld and penetrate the meat surface. Cook using your preferred method and evaluate the results critically.
Adjustment Strategies
Based on your test results, make calculated adjustments to achieve the desired balance. If the rub tastes too salty, increase sugar and other non-salt ingredients proportionally. Excessive sweetness requires additional salt and savory elements. Insufficient heat calls for gradually increasing chili content.
Document your adjustments carefully. Successful modifications should be recorded with exact measurements for future reference. Many award-winning pitmasters developed their signature rubs through systematic testing and incremental improvements over months or years.
Step 5: Storage and Application Techniques
Proper Storage Methods
Homemade rubs maintain peak flavor when stored correctly. Use airtight containers made from glass or food-grade plastic. Avoid metal containers, which can react with certain spices over time. Label containers with creation dates and ingredient lists for future reference.
Store rubs in cool, dry locations away from direct sunlight. Properly stored rubs maintain quality for six to eight months, though flavor intensity gradually diminishes. Consider making smaller batches more frequently rather than large quantities that lose potency.
Application Best Practices
Applying the rub correctly maximizes flavor impact and cooking performance. Pat meat surfaces dry with paper towels before application. Moisture prevents proper adhesion and can cause uneven flavor distribution. Apply the rub generously, using approximately one tablespoon per pound of meat.
Massage the rub into meat surfaces, ensuring complete coverage, including all crevices and edges. Allow the rubbed meat to rest refrigerated for at least one hour, though overnight resting produces superior results. The resting period allows salt to penetrate while other flavors develop complexity.
Advanced Techniques and Variations
Layering and Complexity Building
Experienced pitmasters often employ layering techniques for enhanced complexity. Apply a base layer of salt and sugar several hours before cooking, followed by the complete rub mixture closer to cooking time. This method creates multiple flavor levels that develop differently during the cooking process.
Consider creating specialty variations for different proteins. Poultry benefits from herbs like rosemary and sage, while beef responds well to coffee grounds or cocoa powder additions. Pork pairs beautifully with fennel seed and orange zest for unique flavor combinations.
Troubleshooting Common Issues
If your rub burns during cooking, reduce the sugar content or the cooking temperature. Bitter flavors often result from over-application or excessive heat exposure. Bland results typically indicate insufficient salt or inadequate resting time before cooking.
Inconsistent flavor distribution suggests inadequate mixing or ingredient clumping. Overly salty rubs can be diluted by adding non-salt ingredients in proper proportions. Always taste-test adjustments on small portions before treating entire batches.
Conclusion
Creating your perfect BBQ spice rub is a journey of discovery that rewards experimentation and attention to detail. These five fundamental steps provide the framework for developing signature blends that reflect your personal taste preferences while delivering consistently excellent results.
Remember that the best rub recipes evolve through careful observation and incremental improvements. Don’t be afraid to experiment with unconventional ingredients or techniques. Some of the most celebrated BBQ rubs emerged from creative risk-taking and a willingness to challenge traditional boundaries.
The satisfaction of serving BBQ enhanced by your own custom spice blend creates lasting memories for family and friends. Start with these proven techniques, document your results, and gradually develop your unique barbecue signature that keeps people coming back for more.
I’m Farhan. With my co‑owner Airin, we’ve built Spice World Online USA on 15 years of kitchen testing and recipe development. Expect clear, professional guidance to help you combine spices perfectly every time.


